

Beautiful underwater video
 EN
ENI had to play a bit with the video mode of my new toy (the Canon 7D) underwater. I did this in March 2010, at Batee Tokong, one of the dive sites accessible from Pulau Weh (Indonesia).
The video
The image quality is different from what I could get with my little compact camera. I haven't mastered everything yet, but I've taken the plunge, with a first sequence. So dive in without getting wet, with this underwater mini-film.
More to read ➜ All videos
Underwater
Well, to tell the truth, I had a bit of a hard time. Underwater, first of all. There's that damn white balance to do.
Express mini-course: underwater, colors are lost. They are absorbed one by one, starting with red at 5 meters, then orange at 15 meters, yellow at 25-30 meters, and so on.
The more you go down, the more everything turns blue ...

A quick aside: I'll always remember my amazement as a novice a few years ago, when I scraped my finger on the coral (yes, I shouldn't have put my finger there, you can't touch anything underwater) and saw a dark green liquid coming out of the small cut on my skin... Very strange. I said to myself at the time that I must have been bitten by something nasty, which had left a venom or a sticky deposit on the wound. It wasn't painful, so I didn't worry any more than that. It wasn't until I got to the surface that I understood. Underwater, the bright red of the blood turns... green! 😯
So, in sub video, if you're shooting without lighting (i.e. without bringing white light into the scene), you need to tell the digital camera which shade of blue underwater corresponds to white, so that it readjusts all the other colors accordingly and restores those that have disappeared.
On this dive at Batee Tokong, I take a picture of the sand on the bottom. Here it is. It has a bluish-gray tint, but that's supposed to be what roughly corresponds to white underwater. The sequences I'll take next, with this "blue-gray" as their white reference, will thus recover their reds and yellows. Digital magic!
Except... I didn't properly set up my camera, which I still don't know very well, before launching it. Every time it switches back to standby, I have to go back through the many photos I've taken in the meantime, to tell it again what image I've chosen for the white balance when I want to switch back to video. (Non-diver and non-photographer friends, are you still with me?)
I don't realize all this until I'm underwater, of course. I didn't take the time to check, in the dry, how to record this kind of setting...
😀
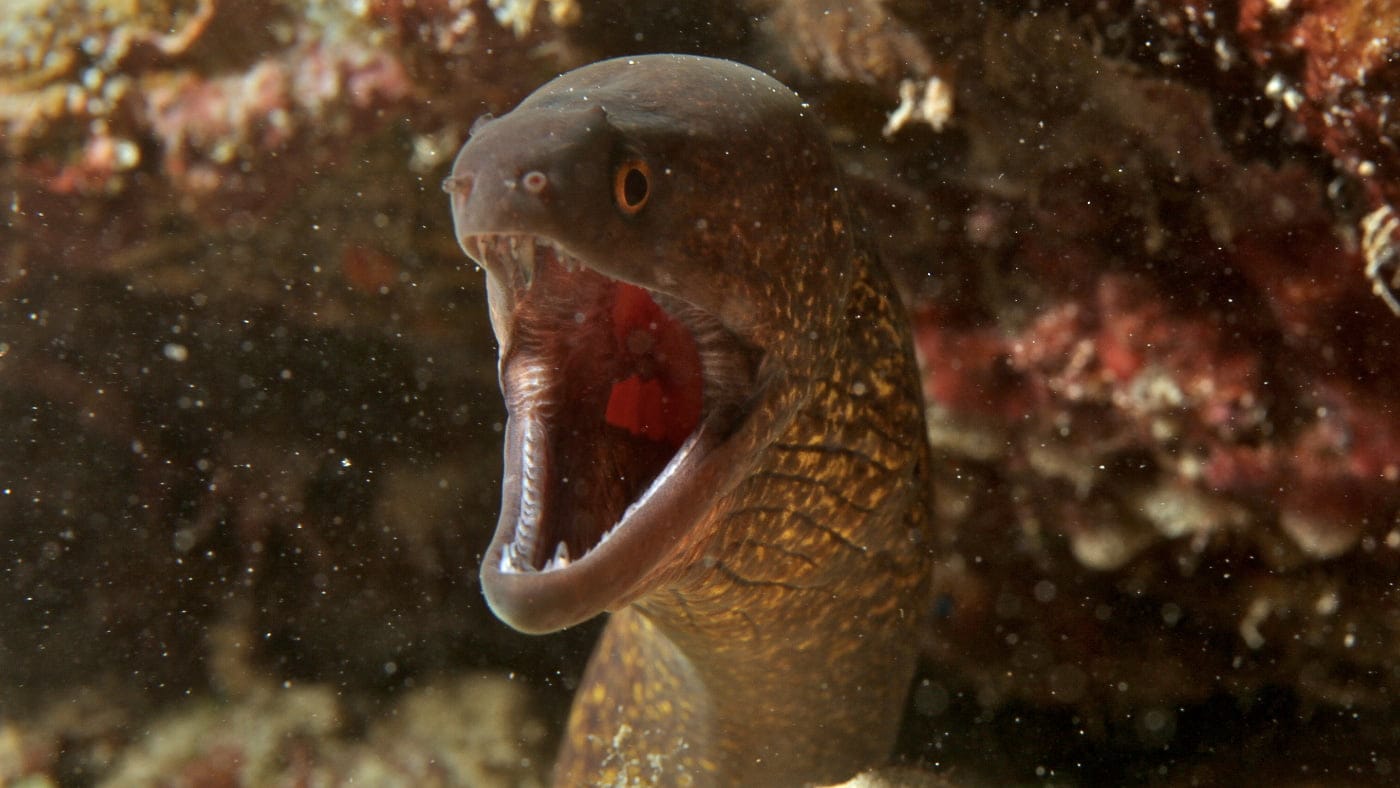
That's how many scenes I can miss... I have to react quickly, to trigger the camera right away. I'm still angry at having missed the undulating swim of a pretty leopard moray, which passed right under my nose. By the time I reactivated my settings, it was gone!
In the future, I'll have to set the camera to systematically memorize the white balance for the video. Or maybe I'll opt for an orange filter (a good old technique from before digital), to be placed quickly in front of the lens in case of need. Those who already have experience in sub video should not hesitate to give me their advice.
Other than that, Batee Tokong(And not a single one on my video, grrr...) 😡
On the computer
Well, it's not all about making video underwater. After that, you need to find the right settings on your computer to encode them properly, so as to have a rendering that's more or less equivalent for webcasting.
I chose the HD 1280×720 mode on the 7D. Once my little sequences were stored on the computer, then imported and edited on Final Cut ExpressThen comes the delicate moment of exporting. As long as I was in low definition with the videos of my little compact, it was not too much of a problem. In most of the settings to choose, the rendering was in accordance with the original.
For HD, it's more complicated. I've done quite a few tests over the last few days to find the right compromise between image quality and file size. At first sight, an MP4 export, with the H264 codec, bitrate set at 5120 Kbs or 6144 Kbs, original frequency, original size, that's about right... (Non-geeks and non-videasts, are you still following?).
After that, you have to put it all on the web. To simplify my life, I use the Vimeo, which I find much superior to Youtube and DailyMotion, although these last two also offer HD now.
Only, Vimeo encodes and compresses again my file, already encoded and compressed by my little hands. The result is that you start to distinguish the pixels in the parts where blue dominates and you lose fluidity. In short, it's not easy to restore, online, the beautiful original image.
Well, it's not too bad either. It's just for a webcast, just to share my bubbles with you... (But what a job!)
😉


your videos are just great ..., I'm going to get into it too 😉
For your white balance, you can not opt for a temperature of color and freeze it during your dive?
Impressive! The set.
I'm your blog for a few weeks and I fell in love immediately ...
For white balance, even if it's not worth a recorded setting, I've seen divers with a white plastic plate on their wrist. That way you always have a white surface to balance on...
Yes, definitely, very nice image quality. Congratulations 🙂
Good S ... Corinne
I can't read your video....
Glooop
Hugs
❓
Superb video! Honestly, it looks great. And thank you for all these technical explanations, very very useful for me, who's just discovering this world of underwater photography... I'd realized that underwater everything turns blue, but I hadn't thought about it much further 😉
If you shoot in raw, could you do without white balance for photography? I've never done it before, but I figure it could be useful in this case. Or set the temperature manually, as suggested by a reader above.
What's ultimately strange is that the photos/videos don't really represent what you saw, but rather the “real” colors?
really nice these videos !!!
and hat for rendering colors !!
Did you find new slugs during this stay ???
An abundance of fish and colors that explode with this myriad of goldfish ... 💡 enough to make you want to go dip your fins and bubble in Indonesian waters!!! We want more!!! 8)
Hello,
videos are great, but they make you want to dive even more! Bravo for the images, for the editing... and as in a Fingers ad, just a small remark, couldn't we have a little longer? 😈
And thanks for the technical explanations, I'm going to go back and look at my own little APN and see if I too, just in photos, can adjust the white balance. 😕
@PhilippeB: Yes, you should get started. But it's like photography: once you start, you get hooked really fast!
Of course, I could try to adjust the color temperature, but the problem is that on the same dive, you don't stay at the same depth all the time, and so the light varies: you don't have the same color absorption at 5 m or 20 m... You can readjust the white balance by redoing it each time you change depth. On the other hand, it's not easy to switch to the right color temperature, I think, every time you go up a few meters. Also, the rendering is not as accurate as with a white balance.
🙄
@ Mariedu13: Thank you!
😀
@Fabien: Yes, that's right: the piece of white plastic you keep with you (tablet or other) is very handy for redoing your white balance during the dive (as you regularly change depth, and therefore color absorption, in short, see my note to PhilippeB above). Otherwise, the gray of the tanks on your back also works well. In this case, I didn't have anything to hand (but I'll have what I need for future dives). Light-colored sand also works well, as long as you stay at about the same depth afterwards.
🙂
@Richard: Merki, merki!
😀
@Laurent: Try again ... Sometimes Vimeo is on the road, but in general it does not last long.
😯
@Thib: Oh, no, I don't shoot in Raw (yet)... I'd never have the time to do the post-processing. Too much work... For my photography, JPEGs are enough for now.
Likewise, for video, I like to spare myself post-processing, so the white balance or orange filter at the time of recording are good for getting the colors just about right from the start.
Well, yes, the colors in my video are “better” than what you actually see underwater: to the eye, the reds are rather brownish-green within 20 meters, but become warmer, more orangey around 5-8 meters... That said, as long as the vision is good and the sunlight gives well, you have almost vivid colors in the shallows near the surface.
Finally, I only use white balance for video, but I should do it for ambient photos without flash. On the other hand, as soon as the flash is used, it restores the colors.
As you're just starting out in diving, I strongly advise you to buy a small waterproof lamp. You'll see, it's fascinating to discover the richness of color in the beam of light you shine on the slightly darker parts of the reef.
😉
@Laurence: Thank you!!! No, I was surprised, very few slugs, and nothing new, at least for me, around Pulau Weh. Surprising.
😕
@auxBulles: Oh, my, yes... Indonesian waters, there's nothing better! Me too, I want more (but we'll have to wait a little longer, until the next vacations).
8)
@Malene: Thank you, thank you! I'm keeping it deliberately short, usually no more than a minute or two, because beyond that, it's likely to bore the non-divers. Besides, on the Internet, people rarely stay glued to videos that are longer than 1 minute 30...
On my previous compact APN, there was white balance, which I didn't use much, in fact, because I was often disappointed: the result was often a bit ugly, with weird colors. But I tell myself I should have taken the time to do it more often for my sub videos back then. It's just a pain in the ass to do over and over again during a dive. And when the turtle and the shark appear, you don't always have the time... so you film without having done it, and then voilà, it's still a pleasure to watch afterwards, even if it's very blue.
🙂
Wow, class! The dream of having a camera like yours 😉 In any case it really makes you want to bubble. I love it and I agree... We want more. Come back soon!
@Charly: I love my 7D. I love it, I cherish it. I want to go back underwater with it... Oh, my, I want more too!!!! Can't wait for the vacations...
🙄
@PBGalerie: Many thanks !
🙂
Superb HD underwater ❗
Hello,
Beautiful blog!
I was looking for information about Koh-Lipe and I came across some of my research on the net ... on your article about it (https://petitesbullesdailleurs.fr/koh-lipe-sur-terre-et-sous-leau-20090312/) ! 😉
Good ... my 2 cent as we say: http://www.focus-numerique.com/news_id-1627.htmlThis new firmware allows to fix a white balance problem in burst mode. Unfortunately, I think it will not solve your problem in video mode at all. 😕
Gôm 🙂
Aaaah focus-numerique.com is not up to date! 😮 😀
Another firmware has been released since 1.2.1: http://web.canon.jp/imaging/eosd/firm-e/eos7d/firmware.html ... but there's still no mention of white balance in video mode! I guess it's not a bug ... it's a feature! 😛
This Firmware will correct a translation error in the French version menu ... that's always good! 😆
Gom
@ GOM: Thank you! You will find several other articles on Koh-Lipe in the section devoted to this trip to Thailand in February 2009:
https://petitesbullesdailleurs.fr/voyage-thailande-iles-2009/
In fact, I don't really have a “white balance problem” in video, the white balance works fine. It's just that I need to find a way of keeping it active or recovering it quickly without having to go back into the menus. I'll have to study this more closely, there must be a way to memorize the setting, anyway... And I'll look into whether or not I need to update my firmware (for the uninitiated: “firmware” is the software inside the digital camera, which displays menus, adjusts settings and so on). Thanks for the link!
🙂
Maybe you can try this:
http://www.natureetdecouvertes.com/cadeau-ideal/randonnee-et-plein-air/accessoires-de-randonnee/masque-de-plongee-a-photo-video-integree-52011070
@V: Yes, I already knew about this “gadget”, which had caused quite a stir on diving sites such as Plongeur.com... It's certainly great for snorkeling fun (fins-mask-tuba), making nice pictures with the family, but not really for making quality video underwater. This mask-camera is only waterproof to 5 meters.
🙄
But tell me, did you have a waterproof housing for the camera? How did you do it?
@Maxim: Yes, of course, I put the device in a waterproof housing. I briefly discuss this here: ➜ Too hot.
But I will return to make a ticket very soon, to say my impressions on this famous Ikelite box for the 7D.
🙂
@Corinne: And with this firmware there ❓
http://www.focus-numerique.com/canon-7d-firmware-1-2-2-news-2075.html
Gôm 😉
@ GOM: In the end, I managed by pre-recording settings, including the white balance for video, in one of the three possible shortcuts on the thumbwheel. But when I want to change the white balance again, it becomes tedious...
That said, yes, I would have to update the firmware anyway. Thank you for the link !
🙄