

Underwater Photography: 6 Tips for Getting Started
 EN
ENHere are some basic principles for successful underwater photography when you're just starting out. Six simple tips to get you started with great underwater images...
Because underwater photography is more difficult, but much more beautiful than waterless photography... 😂 😉
Contents
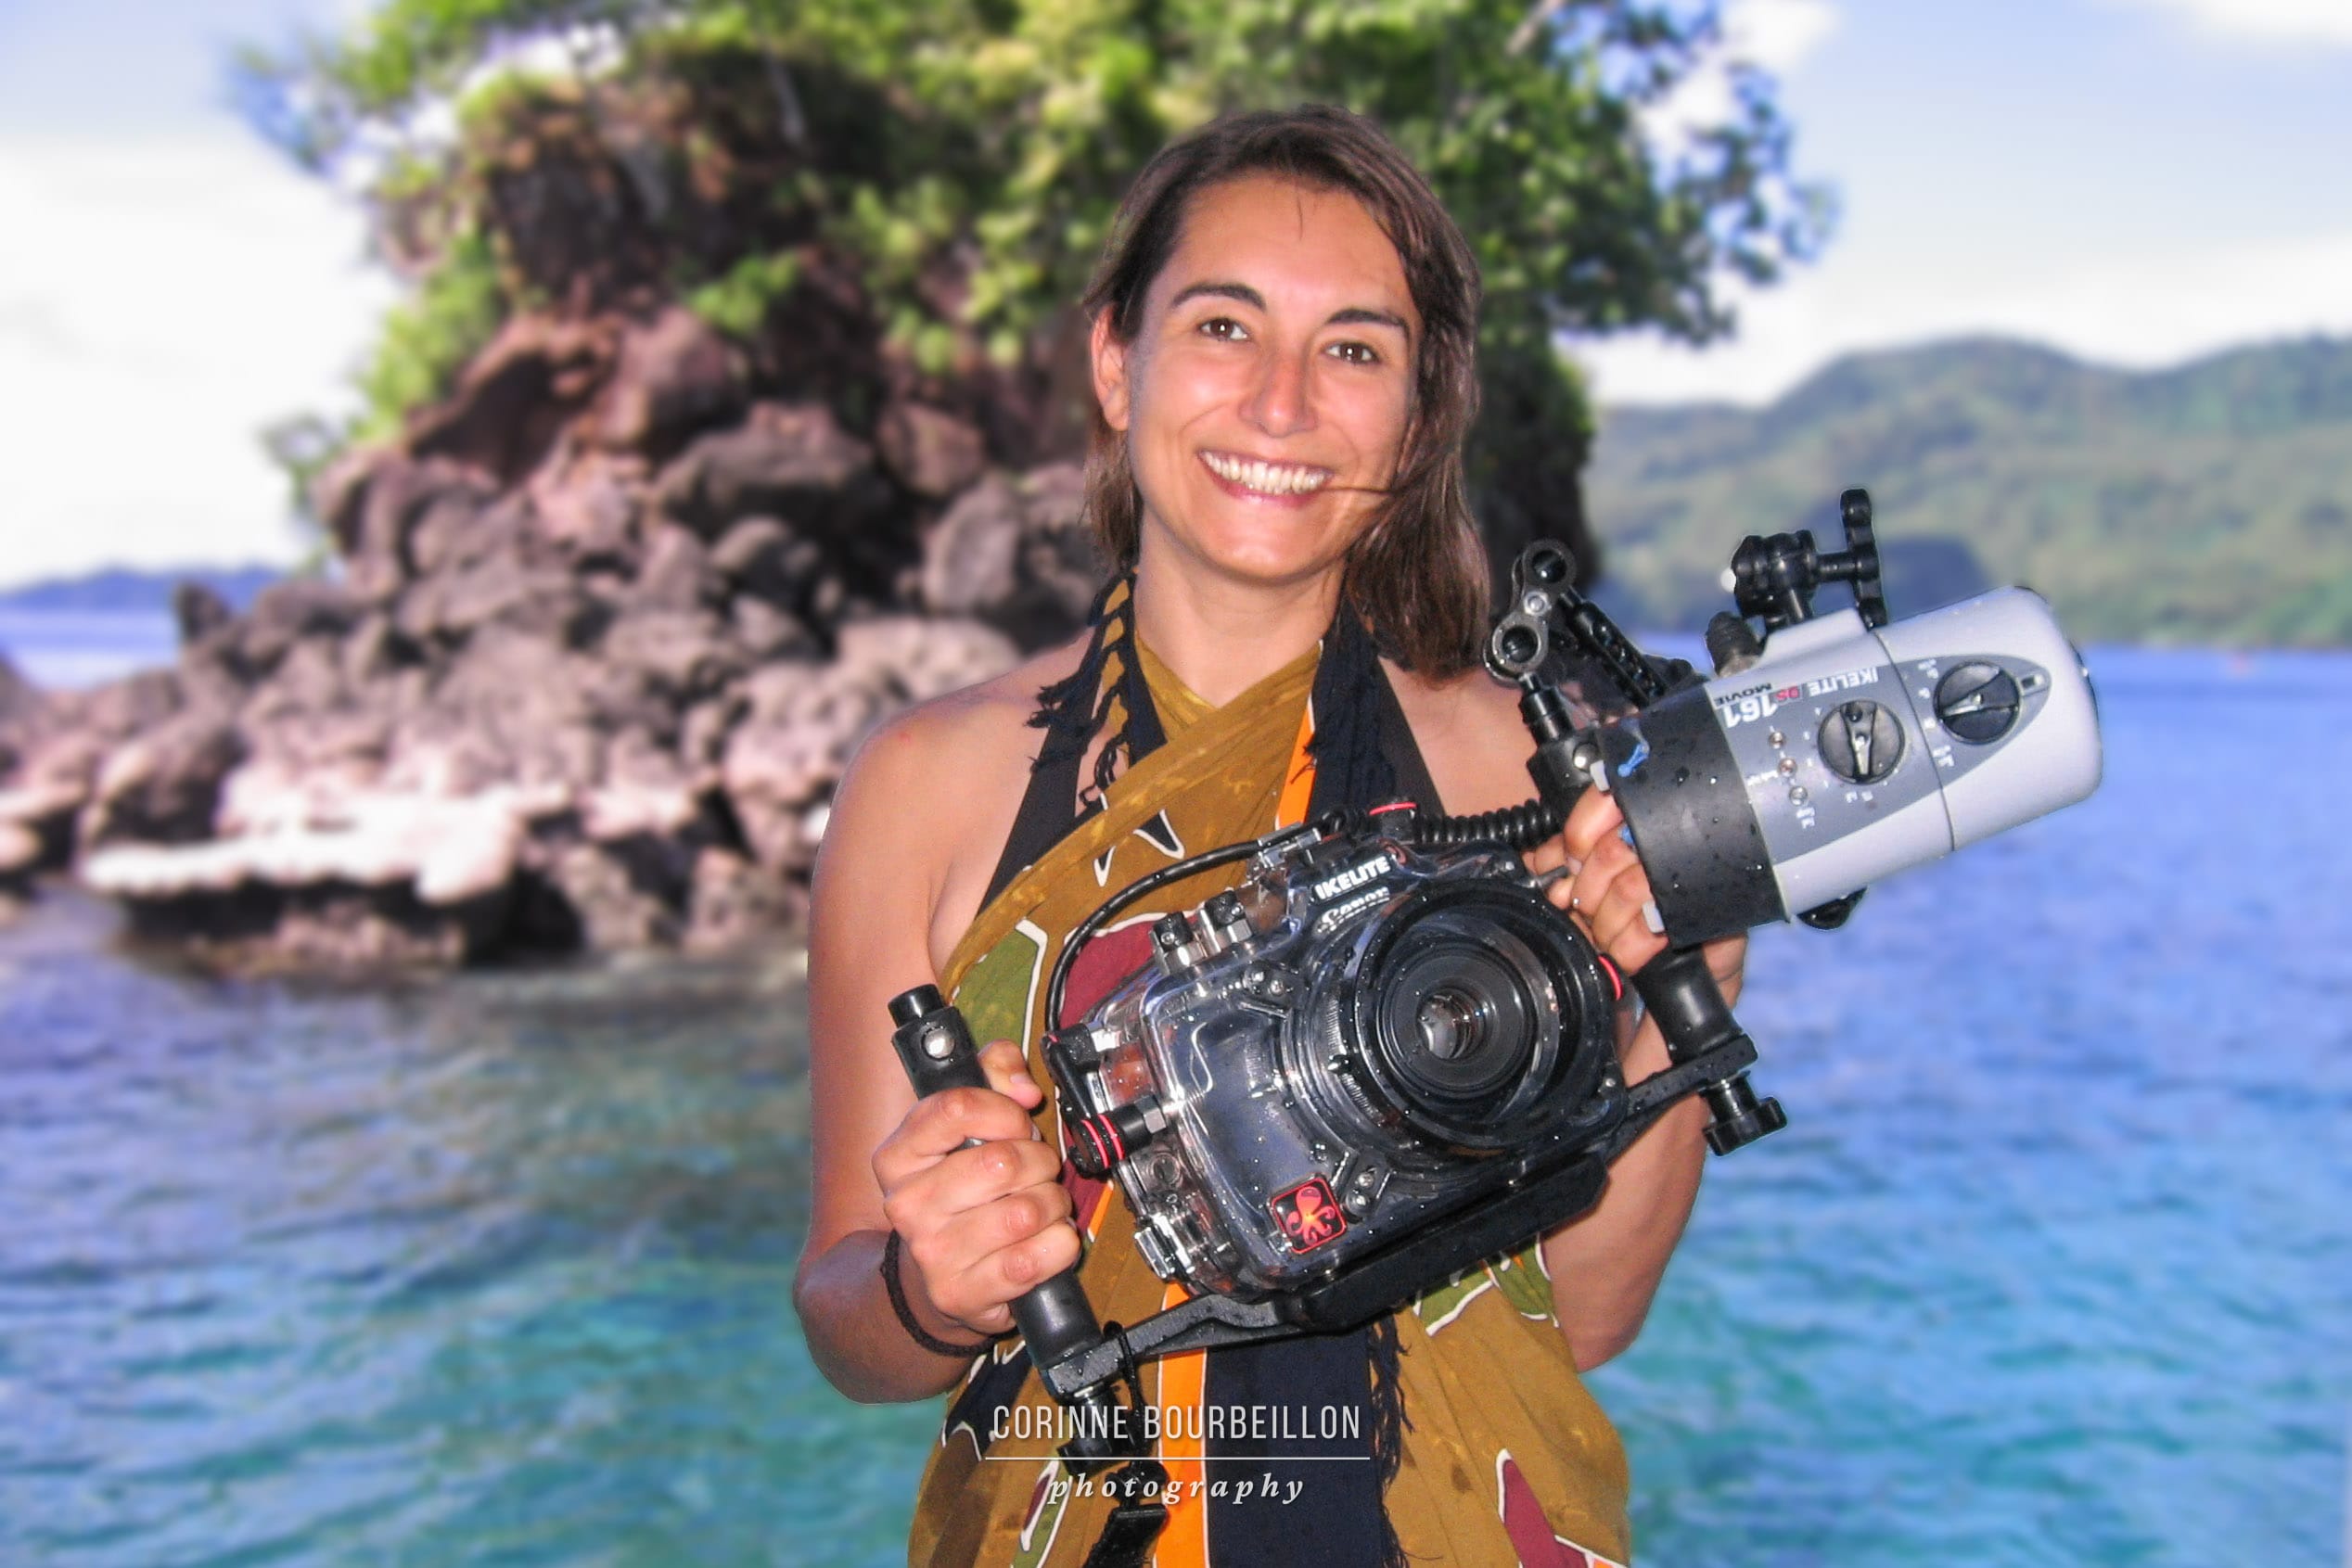
My evolution: compact camera, SLR, MIL
I took up underwater photography in 2005-2006. My very first underwater camera was a disposable body, with silver film inside, all in a transparent plastic waterproof case with a yellow background. You could find these in tourist stores...
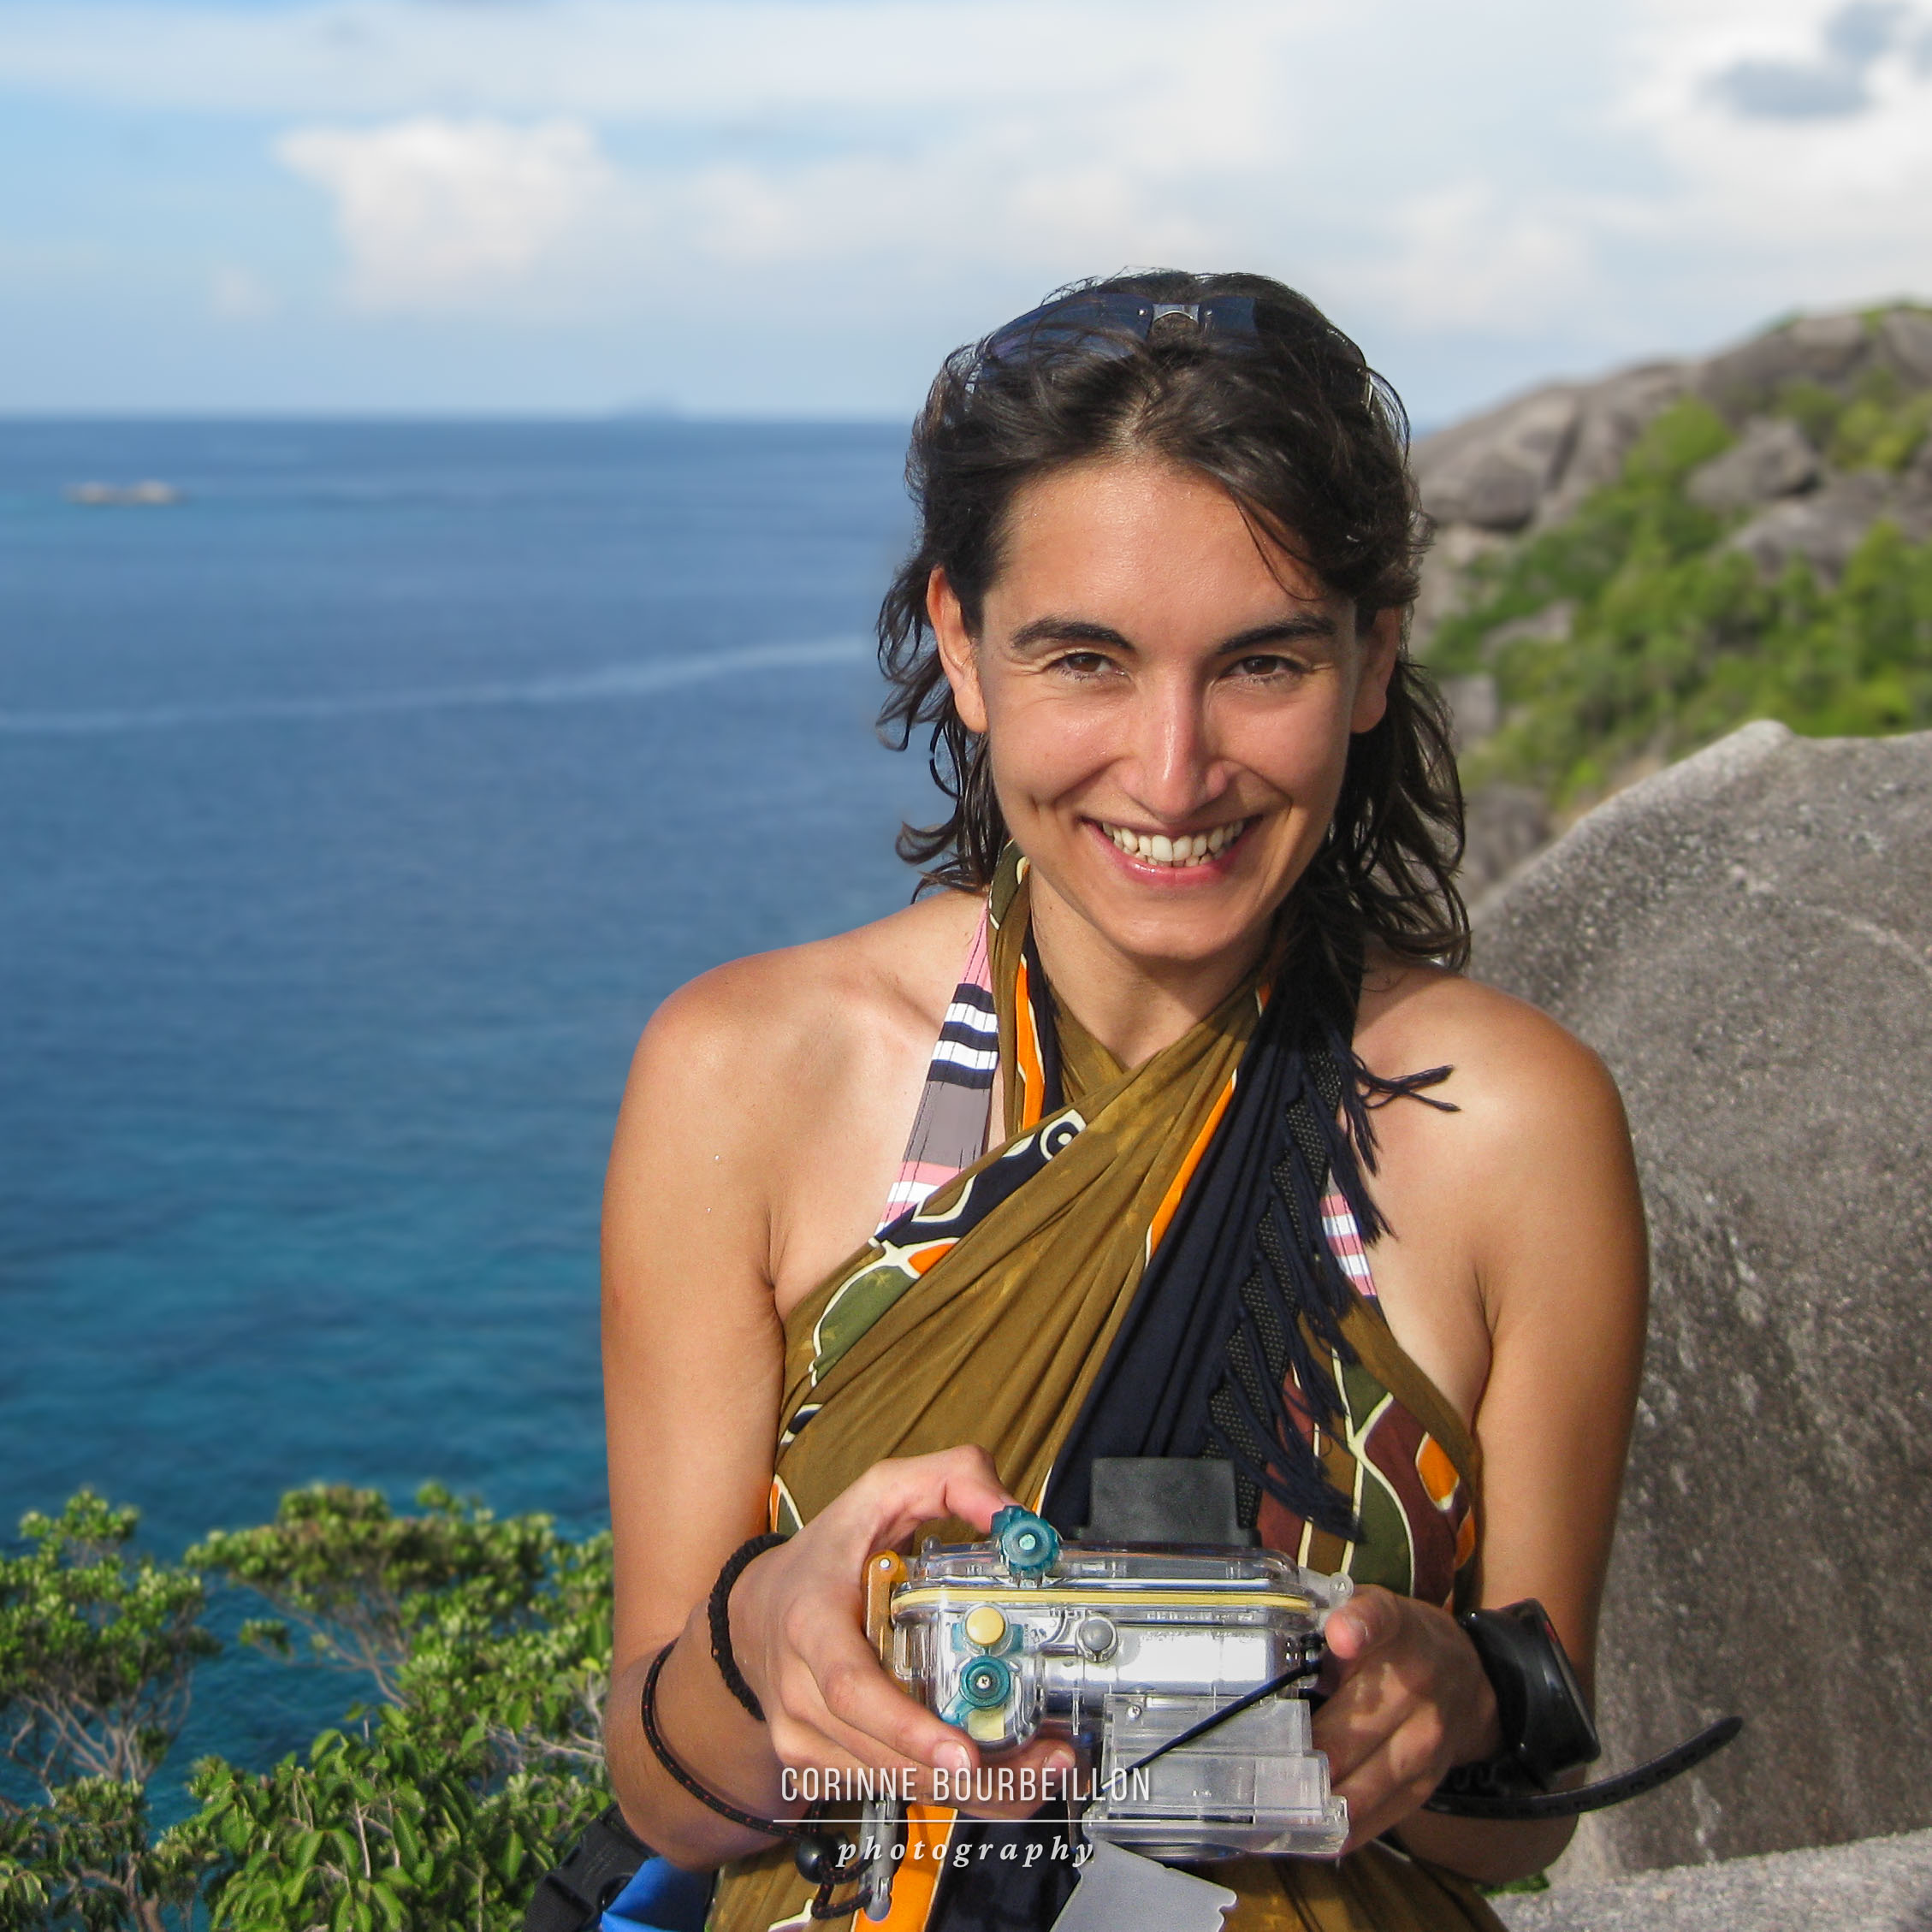
I liked it so much that I immediately bought my first digital camera and its little underwater housing. At first, I tried my hand (and my eye) with this modest compact camera, the Canon Powershot A95, from 2005 to 2009. I learned a lot about underwater photography with this "basic" camera, which was enough to get me started.
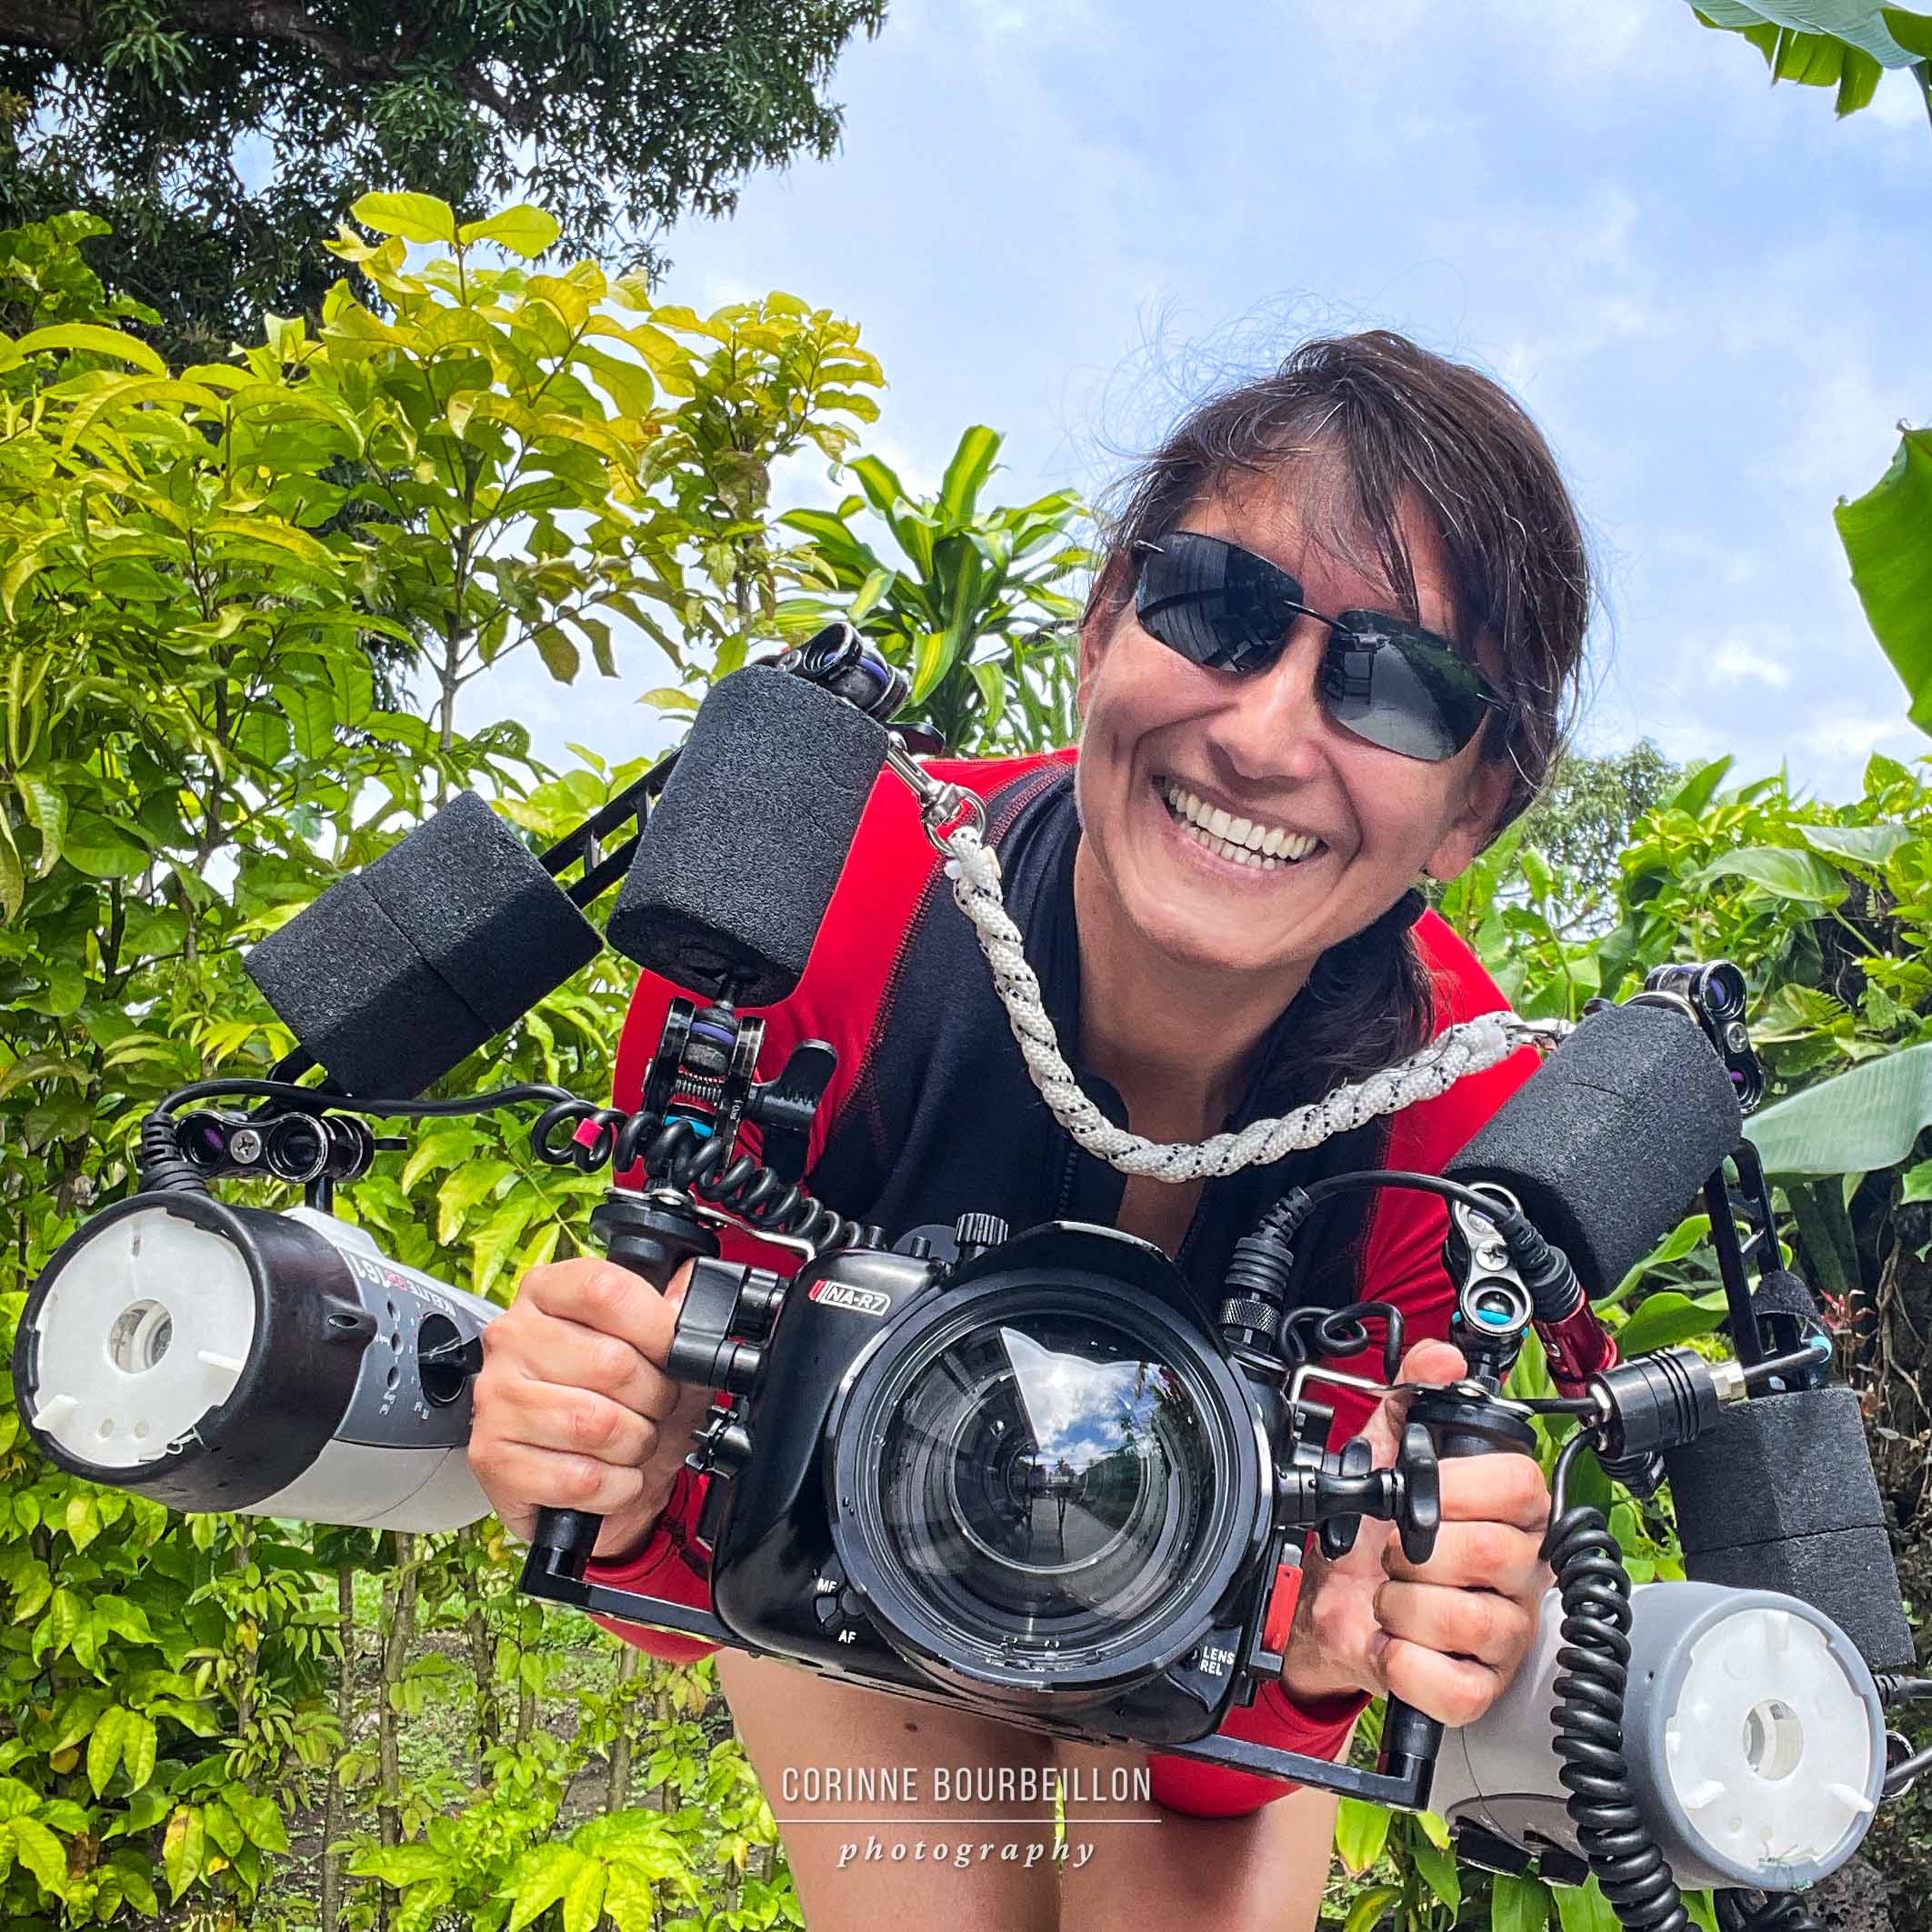
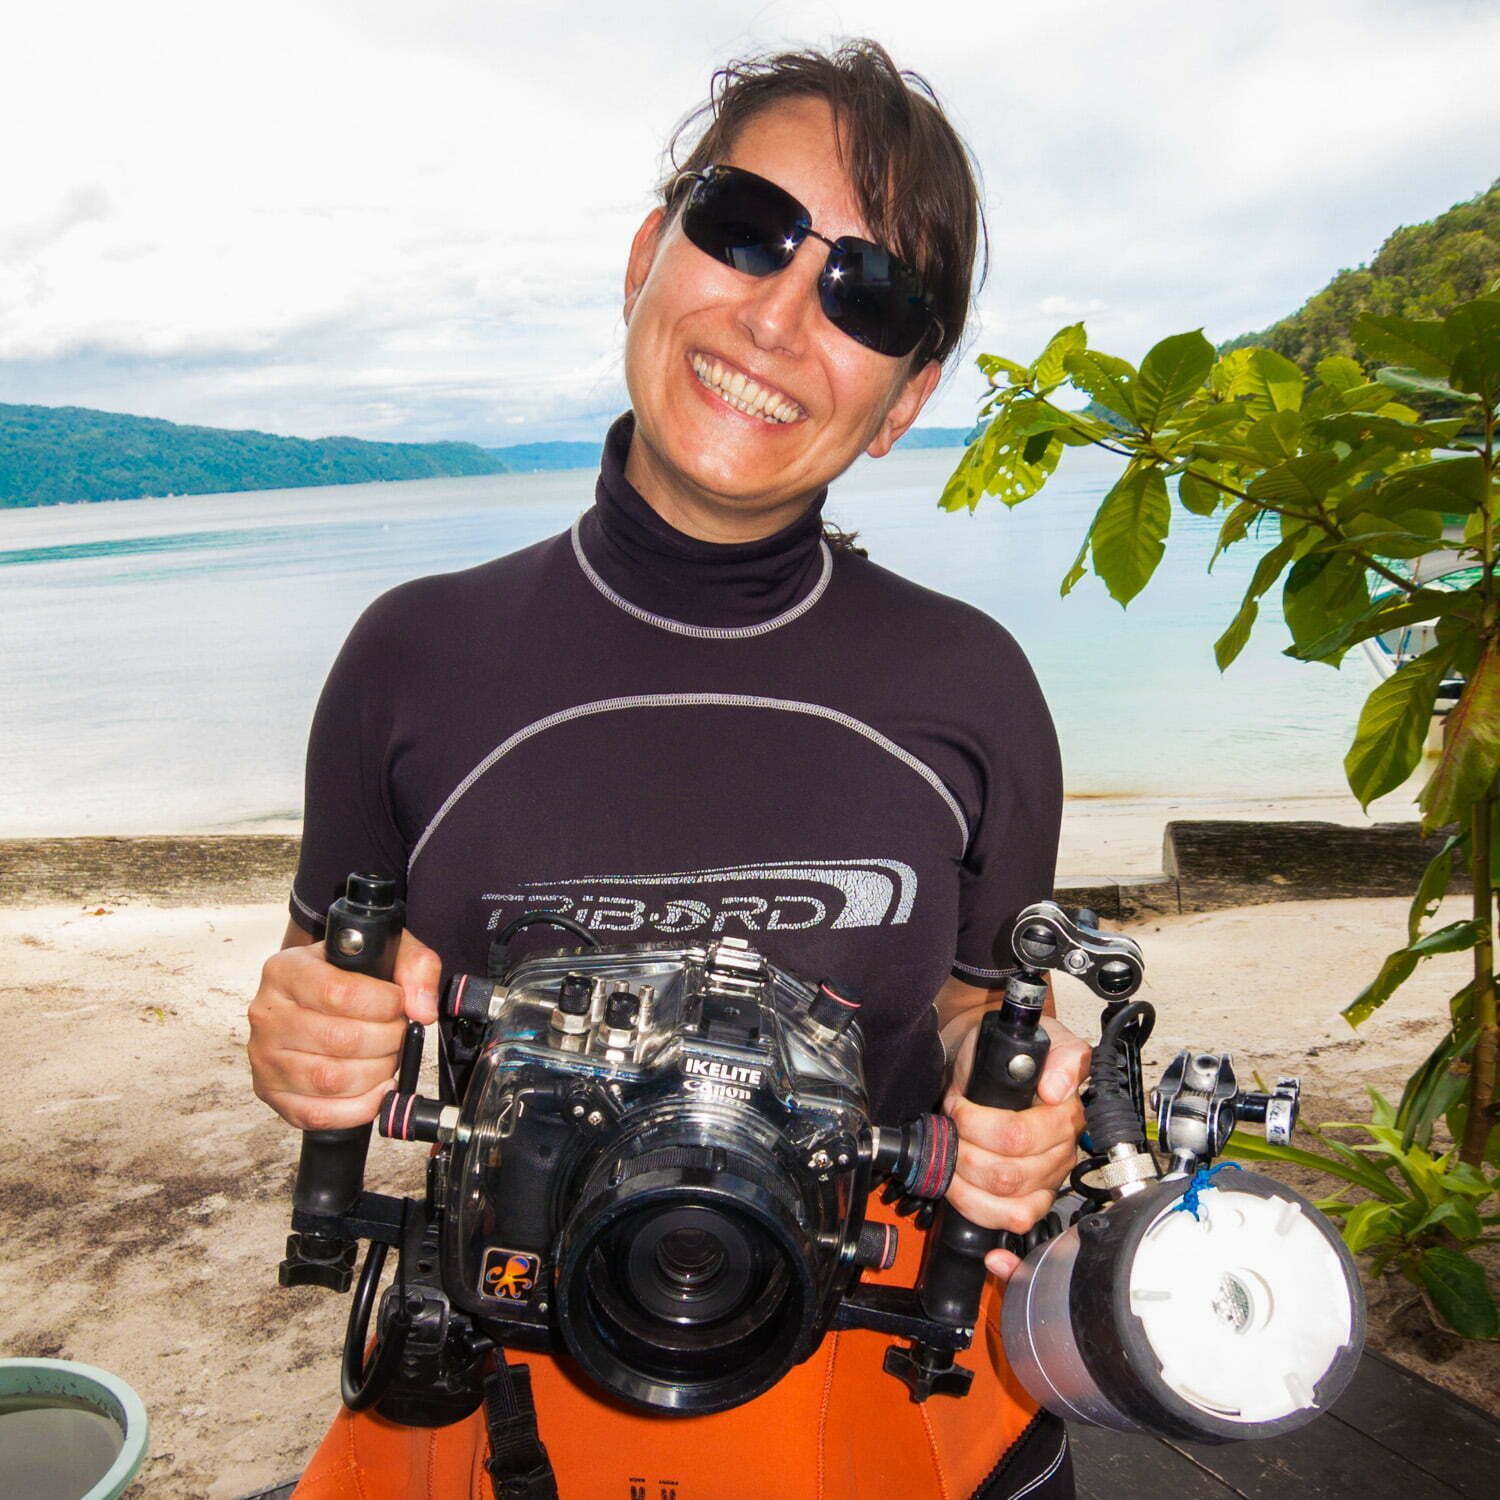
I finally got to grips with its possibilities, then the camera died... I then switched to an SLR in early 2010 with the Canon Eos 7D and an Ikelite housing. Thirteen years later, in 2023, I changed my camera again and invested in a mirrorless interchangeable lens (MIL) one, the Canon EOS R7, and a Nauticam housing.
With the experience I've acquired over the years, my technique has improved and my images have gained in quality. But even today, I'm still perfecting my technique and developing my skills... Underwater photography is a never-ending learning process!
Read more ➜ See my Instagram feed @cbourbeillon
Read more ➜ Diving and photography equipment: my gear
Read more ➜ How I got into underwater photography on my own
I'd like to counter a common misconception here: many people mistakenly think that a simple compact camera can't produce beautiful images underwater. But this is not true! Today's small cameras, even the less expensive ones you turn to when you're just starting out in underwater photography, are gems of technology, capable of magnificent shots.
So forget the myth of the "good camera" that makes "great photos". It's not the camera that makes or breaks a photo, but the person who presses the shutter release. Just as a good dish doesn't depend on the quality of the saucepans used, but on the talent and skill of the person who prepared it... 😉 I've seen people produce splendid images with very simple equipment. And others produce rotten shots with very sophisticated and expensive equipment.
Here are a few tips and tricks to help you become a better underwater photographer before, during and after your dive!
1. Control (really) your buoyancy
The first requirement, which applies more to diving than to underwater photography, is to be really comfortable with your buoyancy, and to be able to do the lung-ballast without even thinking about it.
It's essential to be able to stand close to your subject without touching anything. It's out of the question to crash heavily on the seabed, or to "bump" into coral or rocks, at the risk of injuring yourself and damaging the environment.
Learn to move close to the bottom without lifting sand. The ideal is to fin like a frog (the famous frog kick). Otherwise, suspended particles will reduce visibility and create white spots in the flash light!
When approaching fish, avoid frightening them away. So no sudden movements. Above all, don't rush towards your subject. Swim slowly and breathe calmly.
Above all, it's essential never to put yourself in danger when you're too busy taking photos. You pay attention to all the usual things: air consumption, deco, depth, current, etc. And you keep an eye on your buddy and your group so as not to lose them. And you keep an eye on your buddy and your group, so you don't lose them (and you warn them before the dive that you might "drag" a bit because of the photos).
2. Know your camera inside out
It may sound simple, but before you take your camera into the water inside a waterproof housing, it's a good idea to be familiar with all its buttons, settings and functions.
Read the manual. If you want to know how your housing works... I repeat: read the fucking manual.
Practise handling the camera in its housing in the dry. Then, once underwater, you can easily find the buttons you need to adjust your settings.
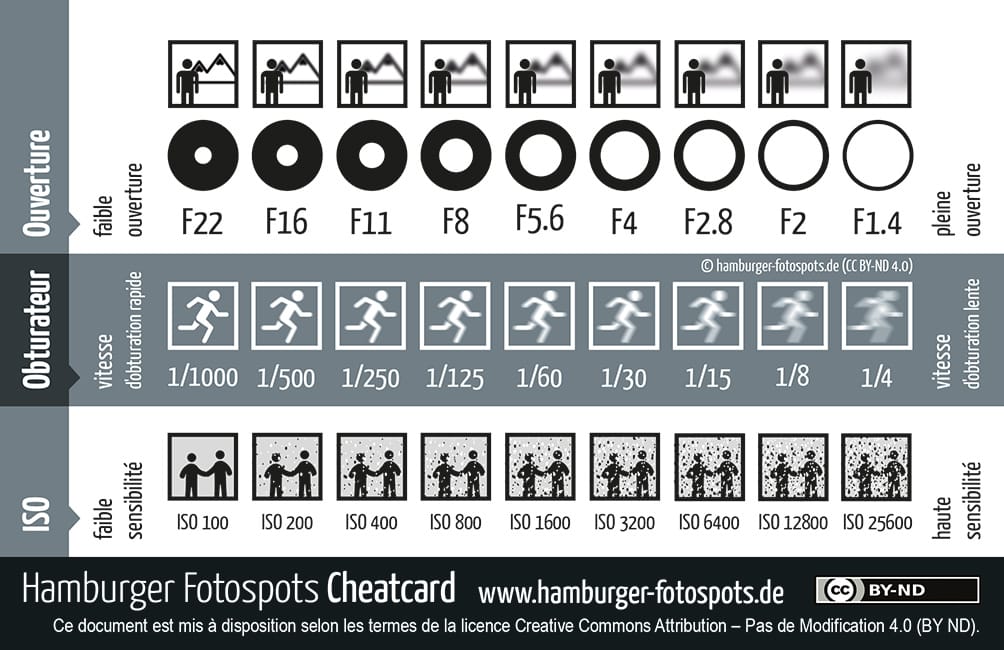
Choose a camera with a manual mode (M). And be sure to choose a well-designed housing that allows access to all settings underwater. You need to be able to choose your own shutter speed (Tv), aperture (Av) and sensitivity (Iso).
Underwater photography is still photography! Photography literally means "writing with light". So learn or revise the basic principles of working with light. You already need to know how to combine the three parameters (shutter speed, aperture, sensitivity) before learning how to adapt them to underwater conditions. If these notions don't really speak to you, it might be a good idea to get some training, by taking a photography course (even on land), for example, or YouTube tutorials. When you understand how a camera works, it immediately becomes much simpler...
3. Conduct field trials
When it comes to photographic technique itself, the best thing to do is to get straight to the nitty-gritty, starting by trying out different settings underwater, until you find the ones that work. In this way, you gradually learn, through practice, to adjust the three parameters (sensitivity, shutter speed, aperture) according to the conditions...
It's all about experimenting, playing and having fun! I'm often asked what settings I use for my underwater photos, and I'm at a loss for an answer. Each photo can have a different setting. I generally adjust as I go along, depending on the scene, the subject, the conditions... There's no such thing as a universal setting that will work in every situation.
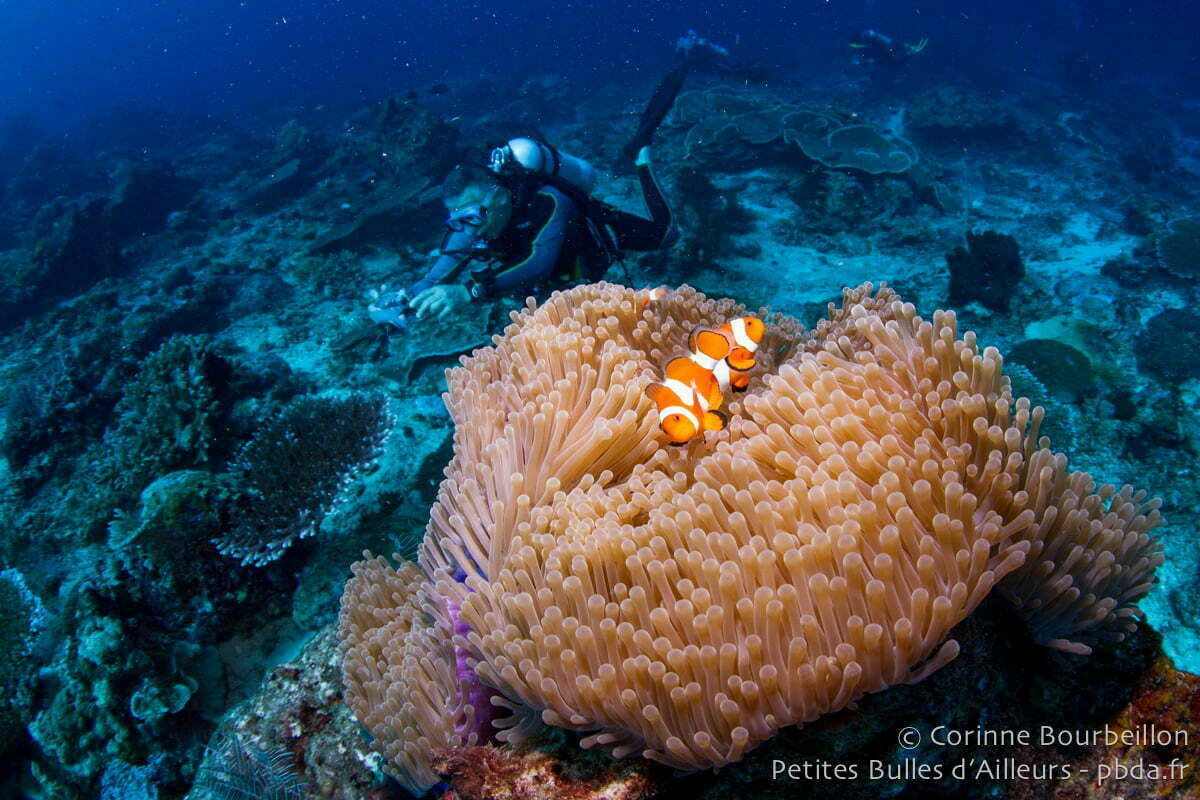
Close-up photo (macro). At first, practice with "easy" subjects, i.e. not too small and not moving too much (starfish, nudibranchs, fixed fauna). It's easier to get the hang of subjects that are almost motionless. You need to activate the flash, whose white light will bring out the colors, and adjust the dose of light you send on your subject, so that the photo is neither too dark nor completely burnt out.
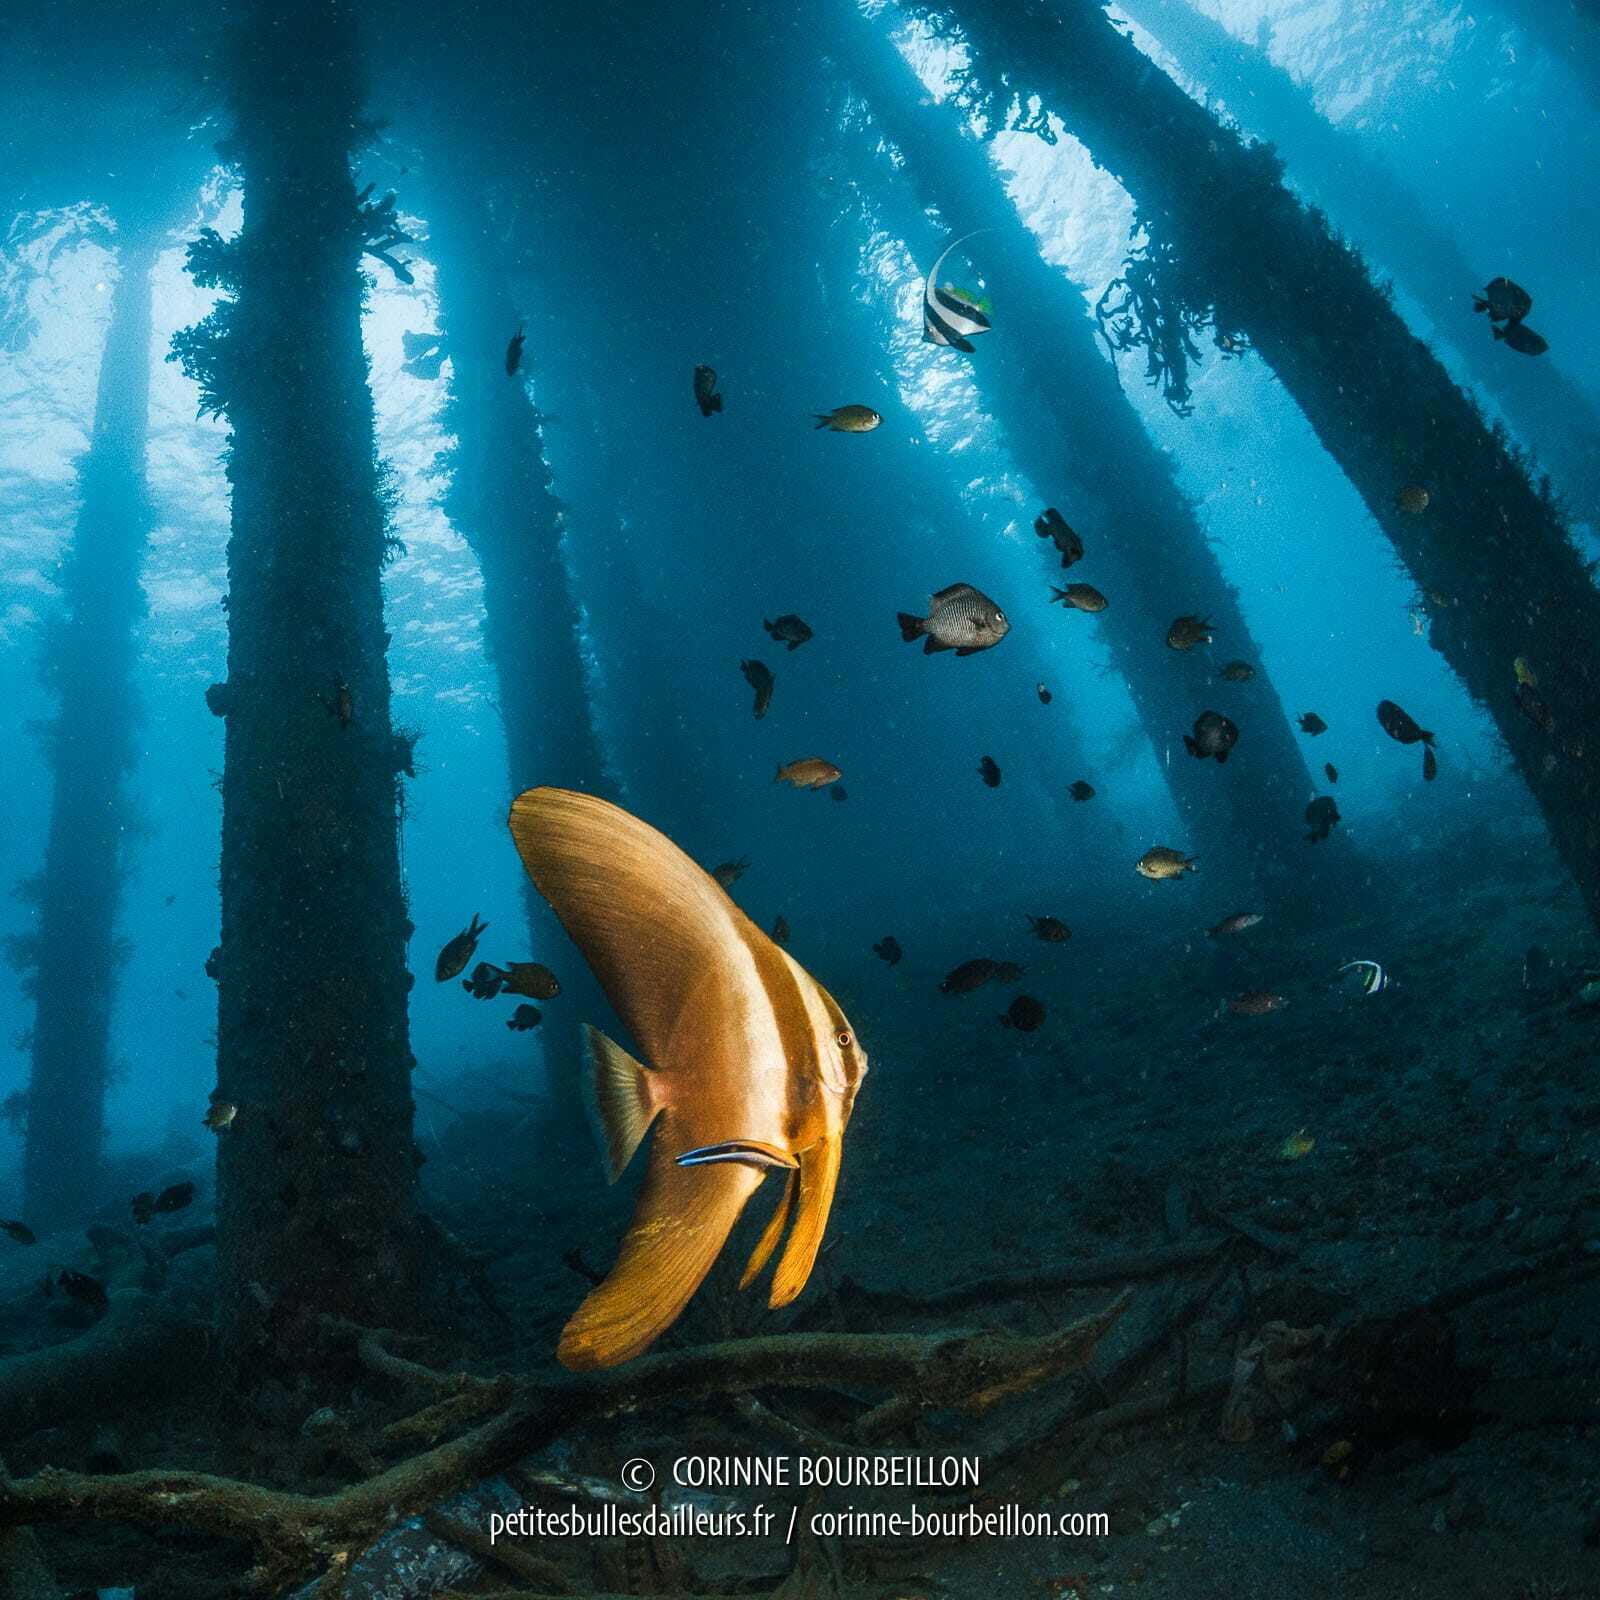
Photo from a distance (wide angle). For more distant subjects or atmospheric shots, you'll also need to play with the natural light coming from the surface. So take the sun's position into account, and think about the image you want to make before firing: think about the composition and try to have a subject in the foreground that will be illuminated by the flash light...
Strobes in wide angle photography. If you only have an internal flash on a compact camera, it's best to deactivate it for ambient shots (from a distance). Otherwise, it will illuminate particles suspended in the water, which will then look like snow on the image! If you have one or more external flashes, you can use them to illuminate a foreground, otherwise it's best to deactivate them too, as they will only illuminate the particles in the water. Very important: in underwater photography, you need to be close to your foreground subject, as the light from the flashes doesn't go beyond one or two meters.
And the "underwater" mode? Some compact cameras offer this mode, recognizable by a small fish logo... Not all are created equal. Try them out for size. But it's often frankly useless. Avoid it if you can't get a decent image with it.
Make your adjustments as you go along. Start by setting the sensitivity (ISO) from 100-250 (for very bright conditions) to 400-800 (darker conditions), or even higher if necessary (caves). Then set the shutter speed (Tv), also known as exposure time: don't go too slow to avoid motion blur (from 1/100e in principle, you're in the clear). Then, as you take photos, you adjust the aperture (Av), i.e. you open or close the lens diaphragm to let in more or less light, depending on the situation, until you obtain a correctly exposed image. There's nothing to prevent you from combining these parameters in a different order, depending on your priorities or the conditions.
Why work in manual mode? As I said earlier, this allows you to keep control over the three parameters that are essential for both underwater and land photography: sensitivity (Iso), speed (Tv), aperture (Av). These are three ways of influencing the amount of light you let into the "darkroom" (camera obscura) of the camera. In manual mode (unlike automatic or semi-automatic modes), it is not the camera but the photographer who decides how to adjust one of these parameters, or how to combine the three. Underwater, the camera's sensor can be "fooled" by the very specific conditions of underwater environments, and choose unsuitable automatic settings...
4. The right dose of strobe light
Water gradually absorbs colors. The deeper you go, the bluer everything becomes... (See diagram below.) To achieve color in underwater photography, you need to shine white light on your subject, using a strobe.
Even when you're not taking photos, it's always great to have a lamp or headlamp with you when you dive, so you can see the true colors of fixed fauna and fish. For example, it's often surprising to see a brownish or greenish clump on the reef turn into a bright red thicket in the beam of light!

Strobe units can only illuminate close-up subjects. Count on a distance of one to two meters. So I repeat what I said earlier: for distant subjects, it's best to deactivate them. Otherwise, they will illuminate water and suspended particles, which will then appear as snow on the image...
Find the right distance for your shots. Experiment by moving away from or closer to the subject, to avoid having a "burnt" or too dark photo. With remote external flashes, make sure they're correctly oriented, and test different positions and angles depending on your set-up (always slightly behind the lens, to avoid illuminating particles in the water).
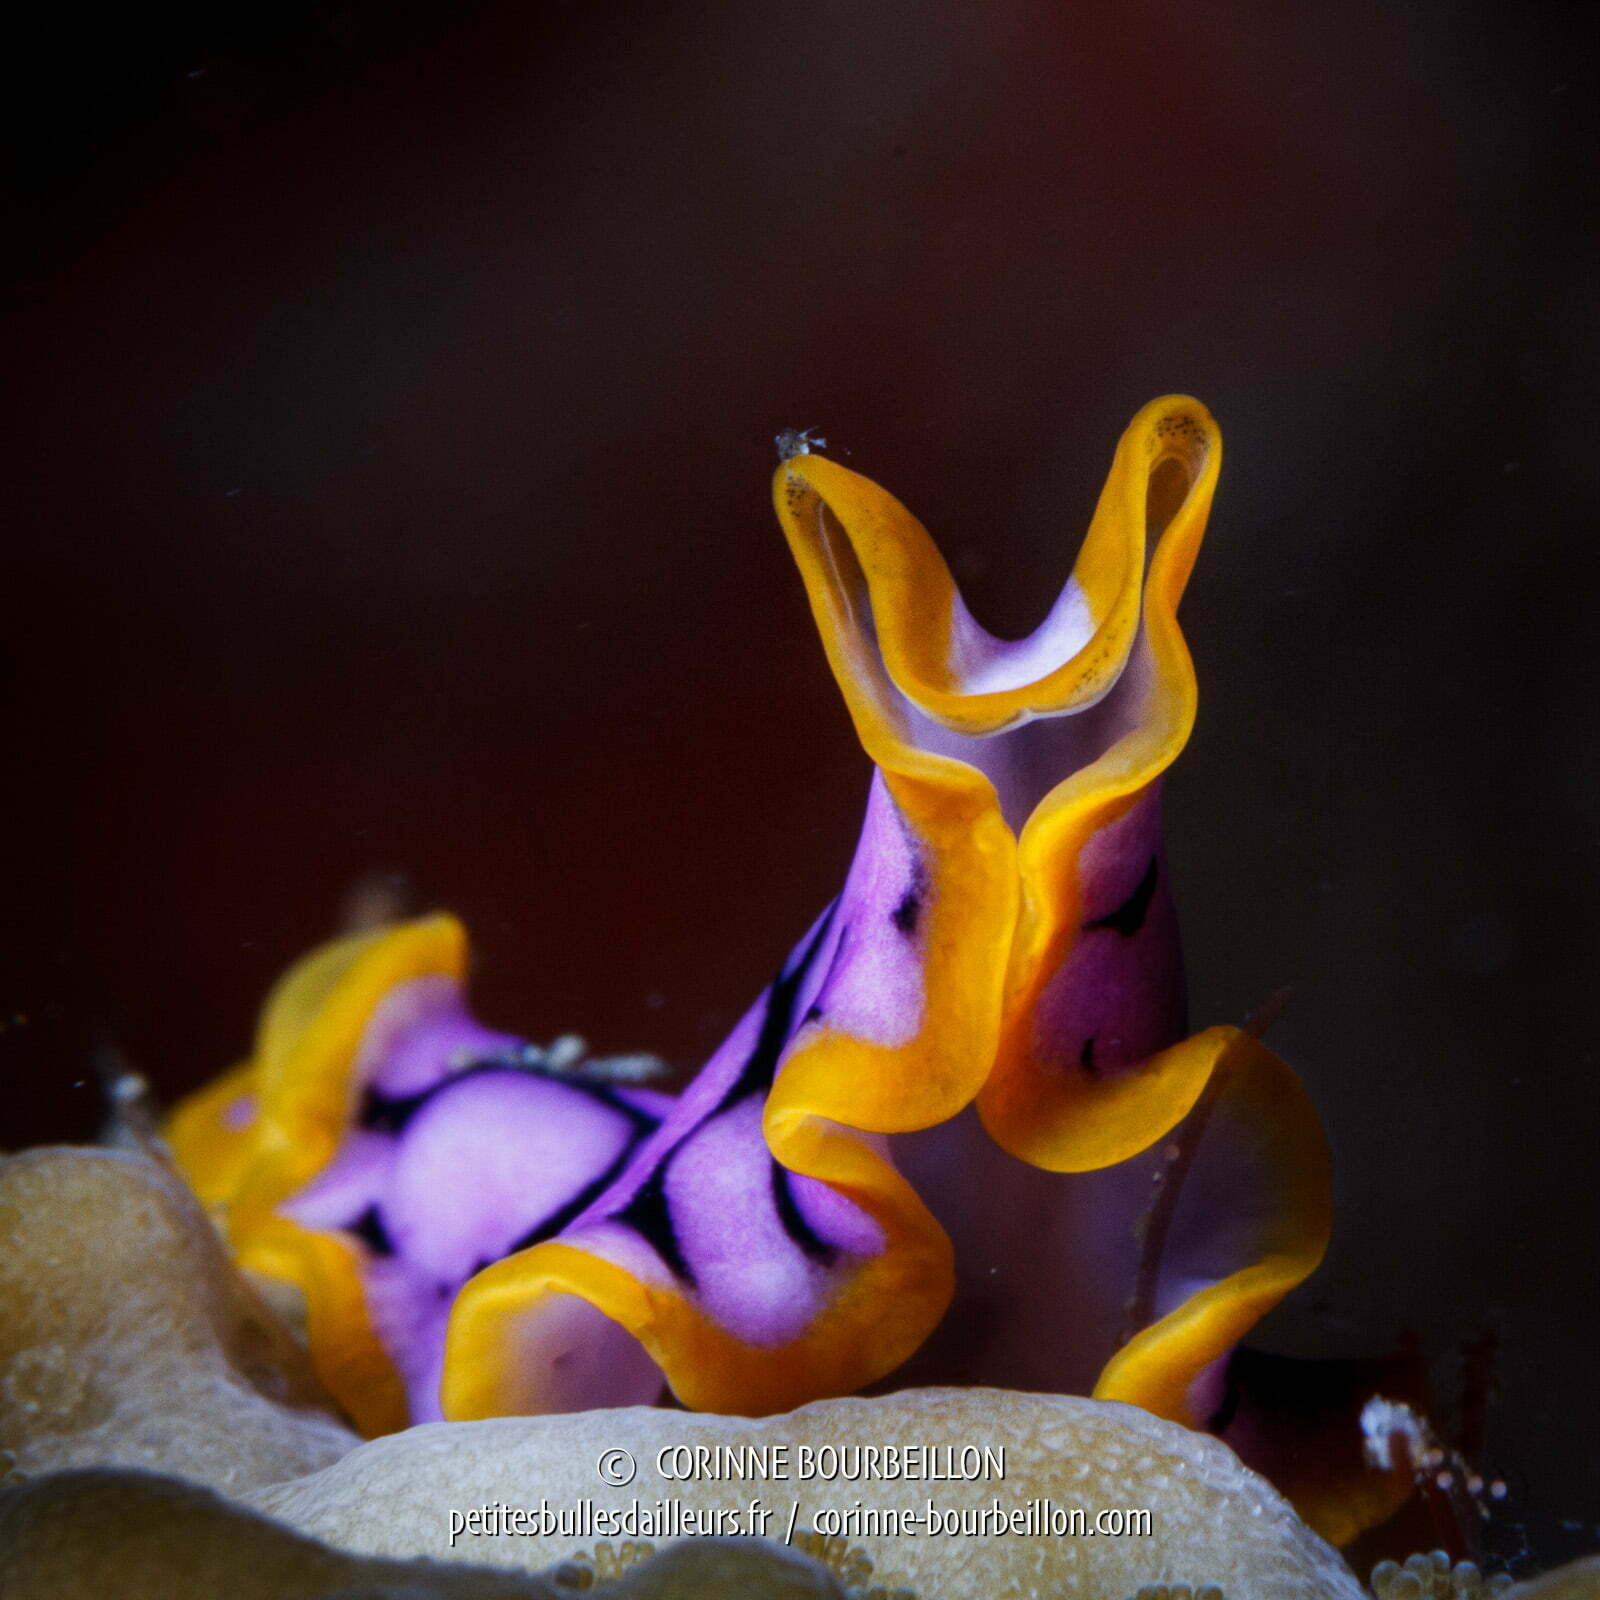
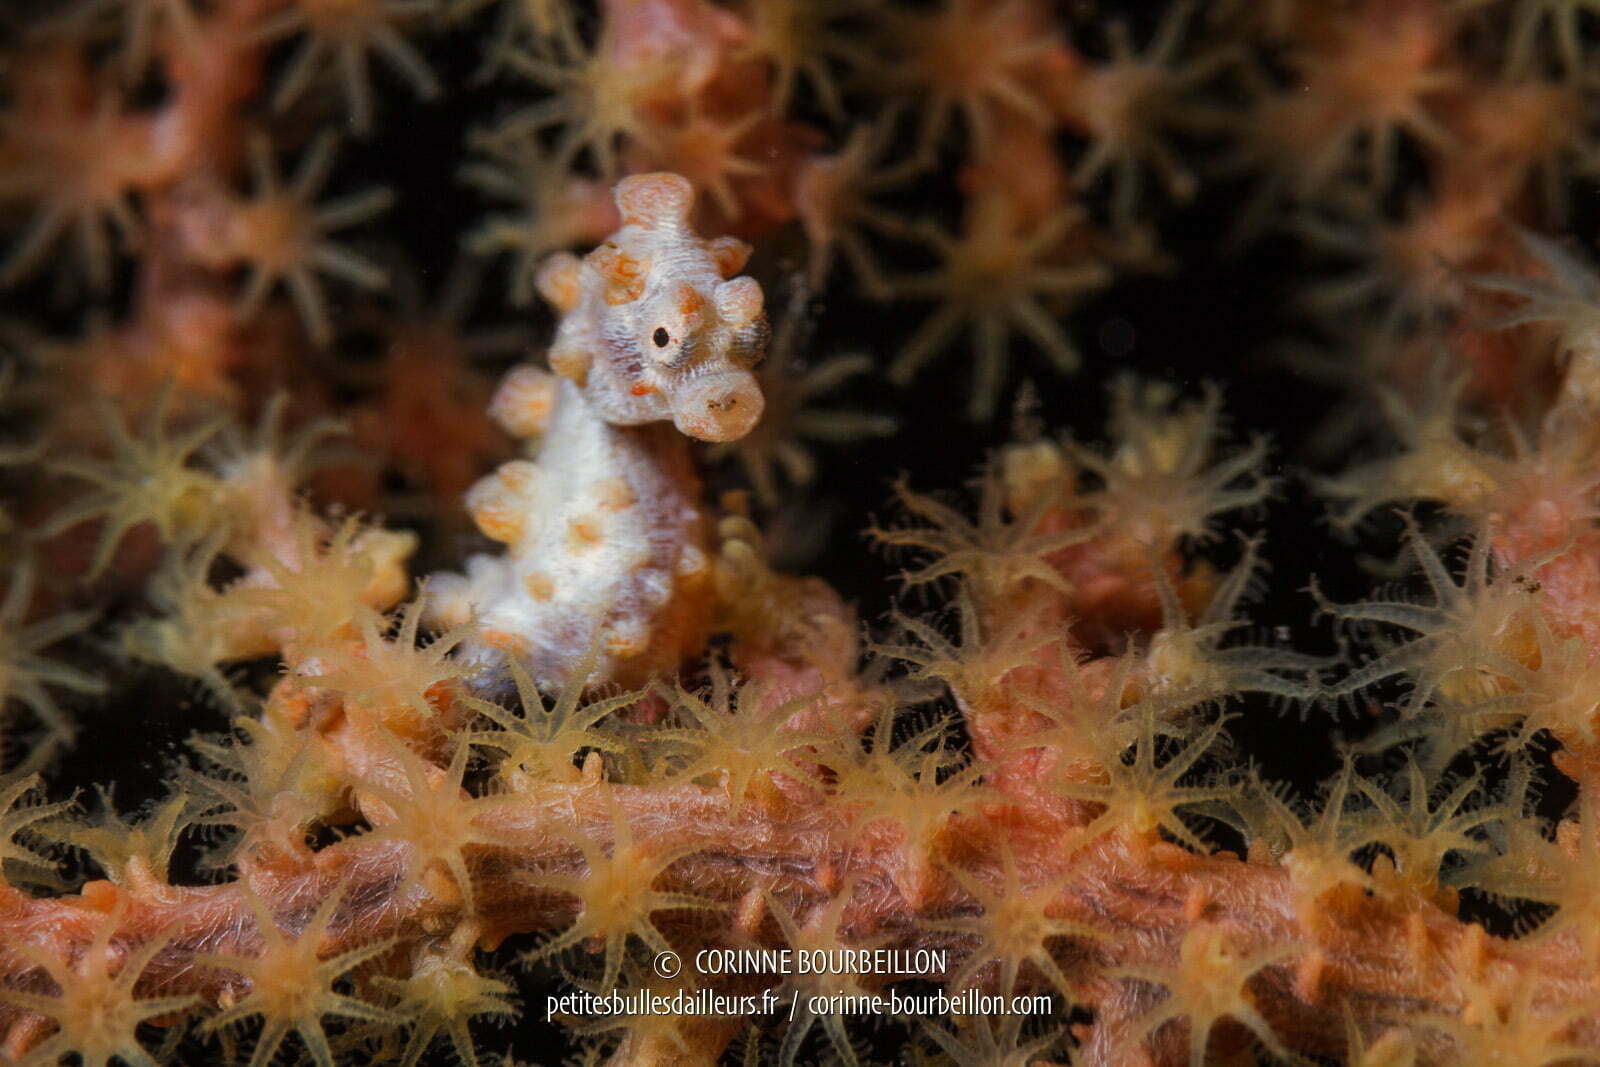
Try to make your subject stand out against the blue background of the water. Avoid shooting with a sandy bottom or drop-off in the background. This clears up the image and highlights nudibranchs, seahorses or coral branches, for example. By adjusting the exposure time and/or aperture, you can turn this background into a dark shade, from black to dark blue.
Adjust the dose of light you send to your subject. Depending on what your equipment allows, you can adjust strobe power, vary exposure time and/or aperture.
Remember to place a diffuser in front of the strobe(s). Light will be softer and more evenly distributed.
Good to know: a lamp or headlight cannot really replace the intense light of a strobe in photography. Even if interesting images can be obtained, it's much more difficult to get a satisfactory result, and you really need to take the time to play with your camera's settings (Iso, Tv, Av). On the other hand, this type of lighting can be interesting for video.
5. Make several images of the same subject
Don't hesitate to "shoot" the same subject once, twice, ten times to get a good photo out of the bunch, even if it means deleting the less satisfactory ones afterwards, once you've understood why they failed... You learn from your mistakes.
Avoid photographing the subject from above. Always try to get down to the same level: the same height as the fish's eye or the nudibranch's dress... Don't hesitate to change your point of view, to multiply the different framings.
There's no point in firing if your subject's back is to you. Or if he's already started to turn and run. All you'll end up with is a collection of fishtails.
Remember to select the highest possible image definition. L for "wide" or S for "super-fine", depending on the camera... Afterwards, on the computer, this allows tighter cropping without too much loss of definition.
Caution: underwater, the digital display can sometimes be misleading. You get the impression that the image is a success, only to be disappointed to discover later, on the computer's larger screen, that it's blurry, for example.
6. Anticipate battery and humidity problems
Always dive with fully charged batteries. With compact cameras in particular, as soon as you trigger the internal strobe and use the digital screen, the batteries can run down very quickly.
Prepare your equipment with care. Inspect the gasket carefully before closing the box, making sure there are no hairs or grains of sand on it. Remember to lightly grease it with silicone gel to keep it in good condition. I often take care of my camera equipment the night before, quietly. This avoids disasters caused by early-morning hurried preparations: batteries not charged, housing not properly closed, memory card forgotten, cap left on lens... I've even known a diver who completely forgot to put her camera in the housing. 😅
If the weather is warm, if possible, leave the housing (with the unit inside) in a tub of water just before diving. It will then gradually warm up to the right temperature. This prevents condensation from "fogging up" the porthole or dome, which is very annoying. Of course, make sure you've closed it beforehand to avoid flooding. Above all, never leave it in direct sunlight!
For compact devices, slip one or two small sachets of Silicagel or equivalent into the housing. This absorbs humidity and prevents condensation, which is favored by batteries that heat up. I haven't had this problem since I switched to an SLR or MIL camera, as the strobe batteries are external.
Bring extra batteries. It's well worth having some spare batteries with you on the boat if you're going on several dives during the day. It's always when you're low on batteries that you have the most fabulous underwater encounters...

Tip 1: Have a working camera 😀
Tip #2: Have a waterproof case to take it underwater
@Alimata: Fortunately you are here, with your legendary practicality. I've had to write this page for too long, it's about time someone brought it to life. If you have any other advice, don't hesitate, so I can just copy and paste it...
😀
Well, I'm going back to my bathtub to train. I'll try not to forget to put the device in the box.
😆
About underwater photos, I already have an Olympus Mju with housing, but I would like to upgrade to the Panasonic Lumix DMC TZ7 with housing... 💡 with orange filter, for less blue photos in the blue of the Ocean ???
It's true that for macros, the flash is sometimes too powerful, I'll follow your advice. 😛
@LiseMet: Yes, for macro photography, even on "small" cameras, you can usually adjust the strength of the flash or play with the exposure.
Otherwise, the orange filter is used to compensate for the "blue" but should not be used with a flash. It also reduces the amount of light entering the camera. Images that are too blue can be processed on the computer, preferably from a Raw file, by rebalancing white balance, luminance, contrast, color layers, etc. The orange/red/yellow filters are mainly used for videos, but you can also do your white balance underwater to recover the colors... (But this is no longer a "beginner" stage.)
I'm new to SLR (switched from G10 to EOS 7D + 60mm), I shoot a lot in a lagoon with an average depth of 1.5m, most of the time very sunny. Big problems of over/under contrast in addition to rainbows due to iridescence, and too often blur with collimators though correctly placed (check done on DPP). What would be your advices, especially for these particular light conditions?
@Flaqueux: I guess you don't use a flash... It would probably be the solution, to unblock the shadows in this kind of high contrast situation. Otherwise, shoot in Raw, with a little bit of subex to avoid the light areas to be burned, and then you can rework your file afterwards and rebalance the constrast correctly. As for the "blur", it's because the focus must not be done correctly (for my part, I focus on a very small portion of the collimators, in the center, so that it's done where I decided) or because you're using too slow a shutter speed... (I imagine you're working in manual mode, obviously, not in automatic mode.)
Good bubbles!
🙂
I only shoot in RAW and I had tried sub-ex, which does improve things a bit. For the speed, I navigate between 1/400 and 1/800. On the other hand, I used this morning systematically a central sight (that I kept for still or slow subjects), and it's already much better. Thanks for your advice!
thanks for the advice i'm just starting out and i think i've learned a few things now in the water.
cdlt 🙂
Hello Corinne,
Your photos are superb! We enjoy watching them and reading you !!
I am in the same situation as you were in 2009 when you switched to SLR. And I ask which lens(es) to choose, because I understand the ideal lens that would make macro and ambient photography (and wide angle while we're at it ;)) does not exist! Especially since a fixed lens is often of better quality with a better photo rendering.
I see that you do as much macro as "ambient photography": do you have two lenses? With this dilemma before diving to put a macro lens praying that the nubi are well at the rdv, and not a beautiful manta not expected 😉
Thank you very much in advance for your advice! Caroline
@Caroline: yes, I have two lenses, and I choose before going diving which one to take, the macro or the fisheye... Cruel dilemma, sometimes. The list of my equipment is here :
https://petitesbullesdailleurs.fr/materiel-photo-et-plongee/
Thank you very much, Corinne !!!
I feel all silly of you for looking at your whole site and missing this strong useful page 😳
So you dive first with the Tokina, and if you spot nubi, shrimps, seahorses or other small cute things, you make a second dive with your macro lens ?
I had spotted the Sony alpha 6000, it's a hybrid that is supposedly very fast with a photo quality tending towards the reflex, and which is lighter than a reflex - advantage counting a lot when you are a woman. Just in case (I'm trying): have you met people with this camera who do underwater photography?
Yours truly, Caroline
@Caroline: no worries... 😉 No, I choose the goal according to my desires and what I am told about the site. For example, right now I'm in Bali, in Tulamben. I am diving on the famous Liberty wreck, where, what interests me, is the atmosphere: so I take the Tokina fisheye. But other divers go there with their macro lens, because the wreck is full of a lot of fascinating little creatures. After the Liberty, this morning, I am about to go diving again, and we go to the Seraya Secret site, on a sandy bottom, which is not interesting for fisheye, but is exciting for macro. So I just changed my lens and put my 60mm macro Canon instead of the Tokina 10-17... If we come across a turtle, well, too bad, I'll just admire it with my eyes... 🙄
A huge MERCIII, Corinne !!!
I hope you enjoyed yourself once again on the Liberty - it was my first dive outside France, and a feeling of euphoria and total well-being invaded me: small fish and flashy colors everywhere, I didn't know where to put my head, or rather my mask...
Nice continuation of trip to Bali 🙂 and thank you bcp to share your dives with us !!! Caroline
@Caroline: ah, and I forgot, for the material advice, I recommend you to go to the forum of the photo sub, you will surely find there enthusiasts who will be able to advise you and answer your questions:
http://forum-photosub.fr/
🙂
Hello I have an ikelite box with a canon 5d mark 3, I start in the underwater photo and afraid to put the camera in the water because next I do weddings and it's a livelihood but I I bought it for the dive because I am fond of underwater background.
I know no setting underwater background because the bottom is blue on earth is different. I bought a flash ikelite ds 160.
Can you help me a little?
Thank you
cordially
Ps: My Fb is francky gatsby
Hello !
Thank you for this article that falls perfectly!
I would need a little expert advice if possible? I want to switch from GoPro to a Mirrorless with housing and 1 flash - I'm N1, 25 dives to the counter, and photographer on land for 5 years - Is the change too brutal in your opinion or possible?
Thank you !!
@Steph: 25 dives is really not enough, in my humble opinion, as an experience, to properly manage your buoyancy when you have to get close to your subject... But I don't know you as a diver, so if you're really comfortable underwater and want to switch to submarine photography, you might as well try it ! It will be the best way to find out. Before you go shopping, rent or borrow a camera to see how it goes... 😉
Thank you Corinne for your answer ! Unfortunately I didn't see your answer coming in my emails and so I fell for my Sony and a flashlight... My trip to Egypt was very stressful as far as the transport of the equipment by plane and also for the mounting and testing phases afterwards! So many anecdotes from a beginner !
That said, I managed to bring back some pictures I'm finally proud of, and would like to ask your opinion if you don't mind (pictures in the middle of the article)? ❤️
http://carnets-de-terre-et-mer.com/index.php/2018/12/16/bords-de-la-mer-rouge-egypte-part-ii/
In any case your blog is THE reference for me, and I hope to meet you one day on a dive boat!
😀
Hello
Do you have any advice for using external flash. I have an InonD2000 and I have a lot of trouble finding the right setting. Either the subject is overexposed or under exposed.
I use a compaq the canon S120 and the internal flash sends via the optical fiber the signal that triggers the external flash.
Many thanks in advance
Ps: I was more successful with my macro subjects with the internal flash than with my external flash because I don't have a good control of the flash intensity.
Following my comment below, I emailed my photos from Thailand taken with my compaq s120 and the internal flash.
Good reception
Good bubbles
clear
@Claire: I don't know the camera or the flash you use and it's very difficult for me to give personalized advice to everyone from behind a computer screen (by the way, I didn't receive your email)...
The only general advice I can give you is to patiently try several different settings on the same subject until you find the one that works. With an external flash, several parameters come into play:
- usual camera parameters: exposure time Tv / aperture Av / sensitivity in ISO
- the intensity of the flash
- the orientation of the flash
Play with the parameters that are available to you until you find the combination that gives the desired results!
thank you for your return, I send you my Flickr link with my beginner photos ... haha
My photos of the Andaman Sea Thailand
https://flickr.com/photos/155811165@N03/sets/72157691815988704
Good bubbles
Unfortunately for the beginner that I am, in this kind of article, only generalities, never details.
I have a TG6, with a 10000 lumens headlight, I would just like: iso? aperture? submarine mode or not?
complicated
@Sylvain: yes, these are general tips, but they are valid for all levels. There are no precise settings for a camera model, many combinations of ISO / Aperture / Exposure time are possible, depending on what you want to achieve and the general conditions (sun or not, close to the surface or not, etc.).) Moreover, I have no experience at all of photography with a headlamp, it's more difficult than with one or more flashes... Finally, I don't know the specificities of the TG6, I can only advise you to read the instructions and to do some tests already, in the dry, to see what works... 😉
As a last resort, you can ask questions on the sub photo forum, there are many TG6 users, some will surely be able to help you:
https://www.forum-photosub.fr/forum/
Thank you so much for these great tips! I'm actually going to Indonesia soon and I'm going to start diving photography 🙂
I wish you many beautiful dives
it's always a great pleasure to read your reports and admire your photos...
Thank you
I do a bit of underwater photography being a faithful diver in Catalonia in France and Spain.